Where is the start menu on Windows 8?
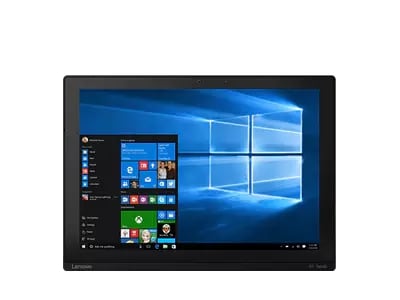
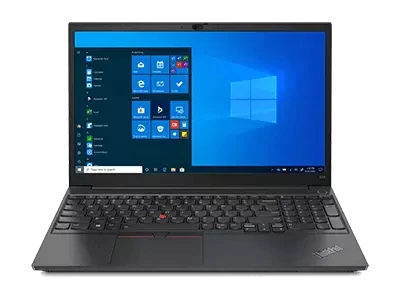
One of the most significant differences between Windows 8 and all of its predecessors is the elimination of the Start button. Users could simply click and display the Start menu. Windows 8 now features a Start screen, which is just as easy to access once you know how. The Start screen enables users to pin websites and apps for easy access.
Swipe the right edge of your screen and then touch “Start.” If you are using a mouse, simply move the cursor from the top-right edge of the screen downward. You can also hover the cursor over the screen’s bottom-left corner, which will display a thumbnail of the Start screen. Click to display the Start screen. You can also access the Start screen simply by tapping the Windows key on your keyboard.
For those who like the traditional “Start” button, there are a few options to consider. The first is to create a Start Menu Toolbar. This will create a folder containing all the programs on the Start screen. Make sure to show all hidden files, right-click on the taskbar, click toolbars and new toolbar. Open C:\Program Data\Microsoft\Windows, select “Start Menu” and choose “Folder.” The new folder can act as a shortcut to the Start screen.
The second option is to add a third-party program that mimics the Start button. Keep in mind that these programs are not backed by Microsoft and could negate any warranties you may have, so make certain you understand all terms and conditions before installing. ViStart 8 is free and will create a Start menu that looks very similar to Windows 7. Classic Shell is an open-source, free tool that adds the Start menu and several other older Windows features to Windows 8. Start 8 is another free tool that adds the Start button to the taskbar.
How do you customize the new start screen?
Microsoft replaced the Start menu with the new Start screen for Windows 8. The Start screen is an interactive dashboard that provides users with a plethora of information, including email notifications, weather forecasts and appointment reminders. Users can customize the Start screen to fit their day-to-day activities.
You can change the theme by going to PC Settings, Personalize, then Start screen. The system has 25 color schemes and 10 background patterns for you to choose from. The size of the tiles in the Start screen can be made larger by going to PC setting, Ease Of Access and then selecting “Make everything on your screen bigger.”
You can also add and remove tiles as necessary. Unpin a tile (make it not appear on the Start screen) by selecting it. This can be done by swiping it downward, right-clicking it with the mouse or using the arrow keys to highlight it. Simply select “unpin” on the app bar. Just like in old versions of Windows, removing the icon from the Start screen does not uninstall it. You can add a tile by searching for it from the Start screen. Start typing the name of the app, select it and choose Pin.
You can also customize individual tiles and group them for easier navigation.
How do you get back to the start screen if you’re using an app or doing something else on your PC or tablet?
The Start screen is the brain center of your computer.This screen is where you open apps and other programs, communicate with friends and family, and view the latest weather updates. You will obviously navigate away from this screen frequently to complete other tasks. You can return to the Start screen in several ways once you are finished using one app and need to access another.
The easiest way is to simply press the Windows key on your keyboard. This function will instantly return you to the last-used app in your system, which will be the Start screen in most cases.
The Charms bar is another way. The central toolbar for Windows 8 can be made to appear by swiping inward from the right edge of your screen. From there, click on the Start button (the Windows icon) and you will be returned to the Start screen. Another way is to use the Switch List. Swipe inward from the left edge and make a “U” back to the edge of your screen. This will reveal the list. Click the Start screen button located at the bottom.
If you are using a mouse, simply move your cursor to the lower-left corner of your screen. Click the Start screen thumbnail that appears to return there.
How do you pin apps to the new start screen?
Some applications you will use more than others; and some that you will not use at all. Your most frequently used apps can be pinned to your Start screen. This means they will appear on your Metro 8 interface, the main screen you start from when the system is running.
To pin an app, website or other program, activate the Charms menu bar by swiping inward from the right edge of your screen. If you are using a mouse, move the cursor to the upper-right corner of the screen to make the Charms menu appear. Click on Search and select Apps. Start typing the name of the app that you are searching for until it appears in the search results. Click on the app and a menu bar will appear at the bottom of the screen. Click on the Pin To Start option and that app will now appear on your Metro 8 interface.
The apps will then re-appear at the very end of all the apps on the Start screen. To move them to a more prominent spot, simply click, hold and drag them where you want them. If you are using a touch screen, activate the apps by touching and swiping it to where you want it to rest.
