How to Take a Screenshot on an Android
Everyone has a lot of data stored on their Android phones, from photos to messages to contact information. If you want to preserve the contents of your phone screen, have you wondered how to take a screenshot on android? Every Android has and offers powerful tools for taking screenshots. Some are integrated into the device, but a variety of third-party apps can handle the job as well. There are several apps that enable users to take screenshots along with recording videos. A screenshot is a way of capturing the contents of your display as an image.
The convenience of screen shots cannot be overstated. With screenshots you can demonstrate how an app works, or show your friends a new feature by recording or taking a screen capture. You can capture image of any error message to show at your workplace. They're great for grabbing tweets, images, stories you want to keep before they disappear. There are many useful ways to use screenshots.
Screenshots and Taking them
There 2 easy ways to take a screenshot on android and how to screen record on android. You can take screenshots and record videos with two different methods. In the first method, you can take a static image or screenshot of the desired screen content. The other is screen recording, which lets you record what happens on the screen. Both options are available on most Android phones. Your phone's operating system and manufacturer will determine which method is best for taking screenshots. Let’s take a deeper look at how to how to screenshot on android phone.
#1 – Taking a Screenshot on an Android
How do i take a screenshot on my android phone?
On most Android phones, a screenshot can be taken by pressing the power and volume down buttons at the same time for a few seconds. After letting go of the buttons, the screenshot is taken. A specific type of shutter soundconfirms the screenshot has been taken. You can edit the screenshot, share it, or delete it quickly from the floating toolbar at the bottom of most Android devices.
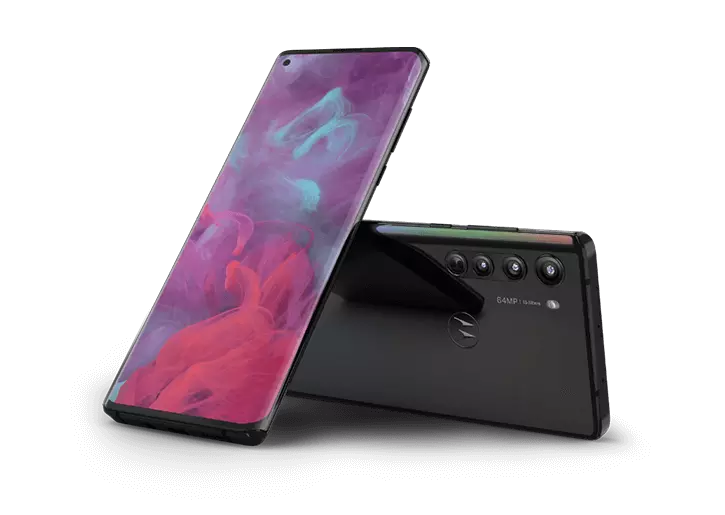
It’s easier than ever to grab and snap a photo or image on your Motorola Smartphones. You can take a screenshot on your Motorola RAZR or G series phone by following these simple steps.
Check out how you can take a screenshot on your Motorola RAZR.
- To start the process, goto the screen you want to capture to the desired screen.
- By pressing and holding the Power button and Volume Down button (right edge) simultaneously, you can capture a screenshot.
- When a screenshot is taken, a flash sound can be heard.
- Release the keys.
- If you wish, you can also press and hold the Power button then select Screenshot from the Power menu.
In the status bar, a picture icon indicates that the screenshot was successfully taken. When you go to your taken screenshot, you have the following options:
- Edit
- Share
- Google Lens
- Delete
Once you have edited the screenshot as you wish, tap one of the following options in the upper right. You have a few options after you have edited and saved the screenshot. It can be saved in your photo album. The screenshot you took can be viewed by selecting Photos, then Albums, then the folder titled Screenshots. The option to delete your screenshot is available to you if you aren't happy with it. If you’re still wondering how can you screen record on android? Below you can find the steps for screen recording on any android phone:
- From the top, swipe down twice.
- By clicking on the screen record button you can start recording the screen.
- Select what you would like to record and tap Start. When the countdown is done, it starts recording.
- Tap the Screen recorder notification at the top if you want it to stop recording.
On a Moto G Series, or Motorola Razr, the recording process allows you to add audio as well as upload a selfie video. As part of the sound and video options on the Motorola Razr 5G, you can muffle the sound and record it. You can also view a thumbnail of your selfie video in the corner of the screen. Follow these steps to adjust the sound and video options on the Motorola Razr 5G:
You can adjust the sound by touching the current setting and changing it.
- Mute
- Record your narration using the microphone
- Record only your phone's sound
- Record both your narration and your phone's sound
Touch the corner to add a selfie video. To disable the selfie video touch the off button. Further settings are available in the Phone Settings, such as frame rate or screen touches.
How to screenshot on android phone - Capturing on the Moto G stylus.
To take a screenshot correctly, start by doing the following:
- Touch on the menu of the stylus to access tools
- Hold and press power button and volume down at the same time until your screen image is taken.
- Place three fingers on the screen and hold them.
- Keep the Power button pressed, then select Screenshot.
To scroll and capture more content, touch scroll down button. To end scrolling till the button of the page, touch the red stop button. There are several ways to edit, save, and share a screenshot. Touch the screenshot to edit it, share, analyze via Google Lens. Open the screenshot by touching the thumbnail if you need more time to review it.
Now it’s possible to take a long screenshot on my Motorola?
Long screenshots can be enabled under the option Moto Actions>>Enable Screenshot editor>>Toggle to turn on. For three seconds, press and hold both Power and Volume down keys. As soon as you take a screenshot of any web page, at the bottom of the left-hand side of your device screen, you will find the option ‘Double down arrow key’.
Activate the Moto Actions by clicking on start now on the "Double down arrow key." Now you should be able to scroll up for longer Screenshots.
#2- Finding the screenshots you`ve taken
There are some of us who are clumsy, and we always forget where the screenshots are after we've taken them. In most cases, screenshots are saved inside the Screenshots album in the Gallery application on most Android phones.
Navigate to Apps icon > Photos > Screenshots from Home Screen to view your screenshot.
How to view screen recordings on android
A recording can be viewed immediately after you capture it by swiping down from the top of the screen and touching the notification. Anytime you want to view your screen recordings, open Photos, Files, or another media viewing app and find the Screen recording folder.
How to check screen time on android
Checking the screen time is simple - Use the Digital wellbeing menu. Head to the Settings . Then goto the Digital Wellbeing and then parental controls. From the Dashboard, check the time under Screen time.
How to split screen on android
Android devices have a split screen mode that lets you use two apps simultaneously. Go to the Recent Apps menu on your Android to use split screen mode. Select the app that you wish to use in split screen from Recent Apps. You can then open the menu by tapping and holding the app. To open the app in split-screen view, tap "Open in split-screen view." A black bar will appear temporarily at the top of the screen. Next, tap another app you wish to use in split-screen. If you want to end the split screen and close one of the apps, tap and hold the black bar in the center of the screen, then swipe in the same direction of the app to close it. You will see a blue screen for a moment before it closes.
The downside of split screen mode is that it will drain your Android's battery faster and apps that require full screen won't be able to run.
#3- Repeating the Process
You have come to the right place if you own a Motorola Smartphone.The Motorola Razr and Moto G Series are among the most intelligent and intuitive phones on the market today, with eye-catching and affordable options. Your Android phone has many other features associated with screenshots and screen time. Screenshot action lets you quickly and easily capture screenshots. Here are the things you need to know if you want to change the screenshot settings on your Motorola G series smartphone.
- Long press and hold the power button. After, touch the screenshot.
- Every time you want, you can turn them on or off.
- Launch the Moto app.
- Go to > Moto Actions.
- Turn off or on the Screenshot editor and the three finger screenshot.
On some Android phones, the standard method to take screenshots is not used anymore. But, users have the option to use a third-party app if you wish to access additional options, and if you're using an older version of Android, you need to root your phone or use a desktop application. The majority of Android users prefer to take screenshots by using whatever fancy features the manufacturer has included in the software. Today, the process of how to take a screenshot on android phone using the phone itself is a breeze.
